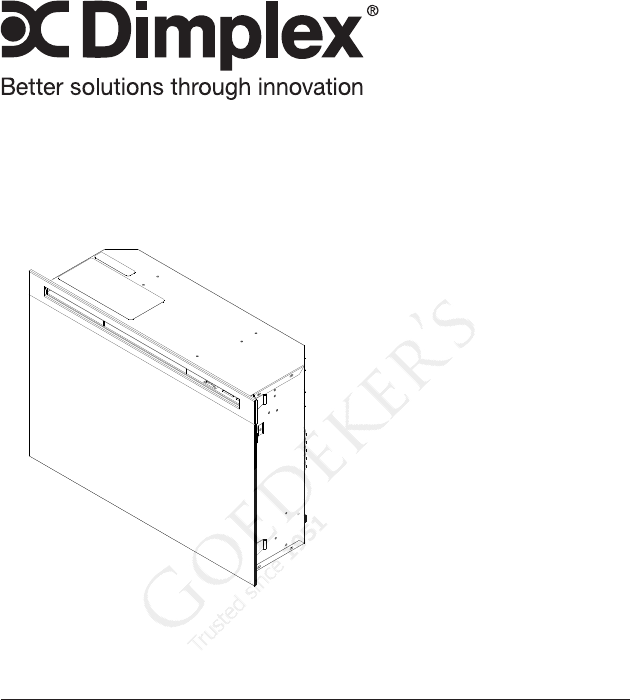
Dimplex DFG253A El manual del propietario
Busca en linea o descarga El manual del propietario para Chimeneas Dimplex DFG253A. Dimplex DFG253A Owner`s manual Manual de usuario
- Pagina / 18
- Tabla de contenidos
- MARCADORES

Indice de contenidos
Owner’s ManualModel DFG2562DFG253A7210580100R08IMPORTANT SAFETY INFORMATION: Always read this manual rst before attempting to install or use this re
10 www.dimplex.com Installation Operation WARNING: This electric rebox must be properly installed before it is used.Manual ControlsA. 3-Position
11Figure 5CBAtil you hear the click again and the heater will turn on.!NOTE: The heater on your replace may emit a slight, harmless odor when rst
12 www.dimplex.comBattery Replacement (Figure 7)To replace the battery:1. Slide battery cover open on the remote control.2. Install one (1) 12-Vol
13 Maintenance WARNING: Disconnect power before attempting any main-tenance or cleaning to reduce the risk of re, electric shock or damage to perso
14 www.dimplex.com Maintenancemotor shaft and replace op-posite end of icker rod back into support bracket.9. Replace media tray back into rebox
15Products to which this limited warranty applies This limited warranty applies to your newly purchased Dimplex electric replace. This limited warr
16 www.dimplex.comWhat you must do to get service under this limited warranty Defects must be brought to the attention of Dimplex Technical Service
17 WarrantyDimplex.• For surrounds (mantels) and trims for the period ending at midnight on the rst anniversary of the date of rst purchase, Dim
18 www.dimplex.com Replacement PartsBlower Assembly (Cutout) . . . . . . . . . . . . . . . . . . . . . . . . . . . . . 2200491100RPFlicker Motor ...
2 www.dimplex.com Table of ContentsAlways use a qualied technician or service agency to repair this replace.! NOTE: Procedures and techniques t
3 Welcome & CongratulationsThank you and congratulations for choosing to purchase an electric replace from Dimplex, the world leader in elect
4 www.dimplex.comWhen using electrical appliances, basic precautions should always be followed to reduce the risk of fire, electric shock, and injur
5SAVE THESE INSTRUCTIONSin this manual. Any other use not recommended by the manufactur-er may cause re, electric shock or injury to persons.⑮ To
6 www.dimplex.com!NOTE: This equipment has been tested and found to comply with the limits for Class B digital device, pursuant to part 15 of the FC
7 Installation WARNING: Ensure the power cord is not installed so that it is pinched or against a sharp edge and ensure that the power cord is st
8 www.dimplex.com Installation Figure 2Figure 3New Wall Construction1. Mark the desired location on the oor and store the re-place in a safe, dr
9 Installation consumption.2. Remove the outer jacket and strip the individual conductor from the end.3. Loosen the screw securing the junction b
Mas documentos para Chimeneas Dimplex DFG253A

Relacionado con productos y manuales para Chimeneas Dimplex DFG253A
 (20 paginas)
(18 paginas)
(11 paginas)
(20 paginas)
(18 paginas)
(11 paginas)
 (14 paginas) (19 paginas)
(14 paginas)
(19 paginas)
(24 paginas)
(13 paginas)
(18 paginas)
(21 paginas)
(13 paginas)
(18 paginas)
(21 paginas)
(14 paginas) (19 paginas)
(14 paginas)
(19 paginas)
(24 paginas)
(13 paginas)
(18 paginas)
(21 paginas)
(13 paginas)
(18 paginas)
(21 paginas)
© 2020, manymanuals.es. Todos los derechos reservados | 0.032 s |
 Manymanuals.com
 Manymanuals.de
 Manymanuals.fr
 Manymanuals.it
 Manymanuals.pl
 Manymanuals.cz
 Manymanuals.es
 Manymanuals-pt.com
Comentarios a estos manuales